Azure Cosmos DB as the database solution of your bot
 October 23, 2020
Fast and easy database solution without the need of configuring a strict database structure. Send your objects to the database and interact with it using json.
Azure Cosmos DB is a fully managed NoSQL database service for modern app development. No knowledge of database practices needed, easy to implement to your project and have instant access to your data at any time. Allows you to elastically scale your database when the needs rise. Support for SQL, MongoDB, Spark and many more.
Create
To create a Cosmos DB database open the Azure Portal and search for Azure Cosmos DB. Click Add to Create Azure Cosmos DB Account.
Fill ine the details for your Cosmos DB Account.
Only the fields with the ‘*’ are mandatory.
- The Subscription field is populated by default with your default azure subscription.
- Resource Group is the group that will contain the resources you are creating now. You can either create a new one, ore use an existing one.
- Account Name is the unique name of the resource you are creating.
- API lets you select the API and the Data Model for your Cosmos DB account. We will be using Core (SQL) for now, but Azure Cosmos DB for MongoDB API, Cassandra, Azure Table and Gremlin (graph) are also available.
- Notebooks (preview) enables the use of notebook with your account, is off by default.
- Location is also populated by default, but you are free to change it. It indicates where the server that contains your database is physically located.
- For Capacity mode you can choose between provisioned throughput and serverless. Learn which plan fits you best here. We will be using Provisioned throughput which is the default.
- Account Type lets you choose between Production and Non-Production and it can be changed later.
- Geo-Redundancy enables your account to be distributed globally, making it more reliable.
- Multi-region Writes allows you to take advantage of the provisioned throughput of your databases across the globe.
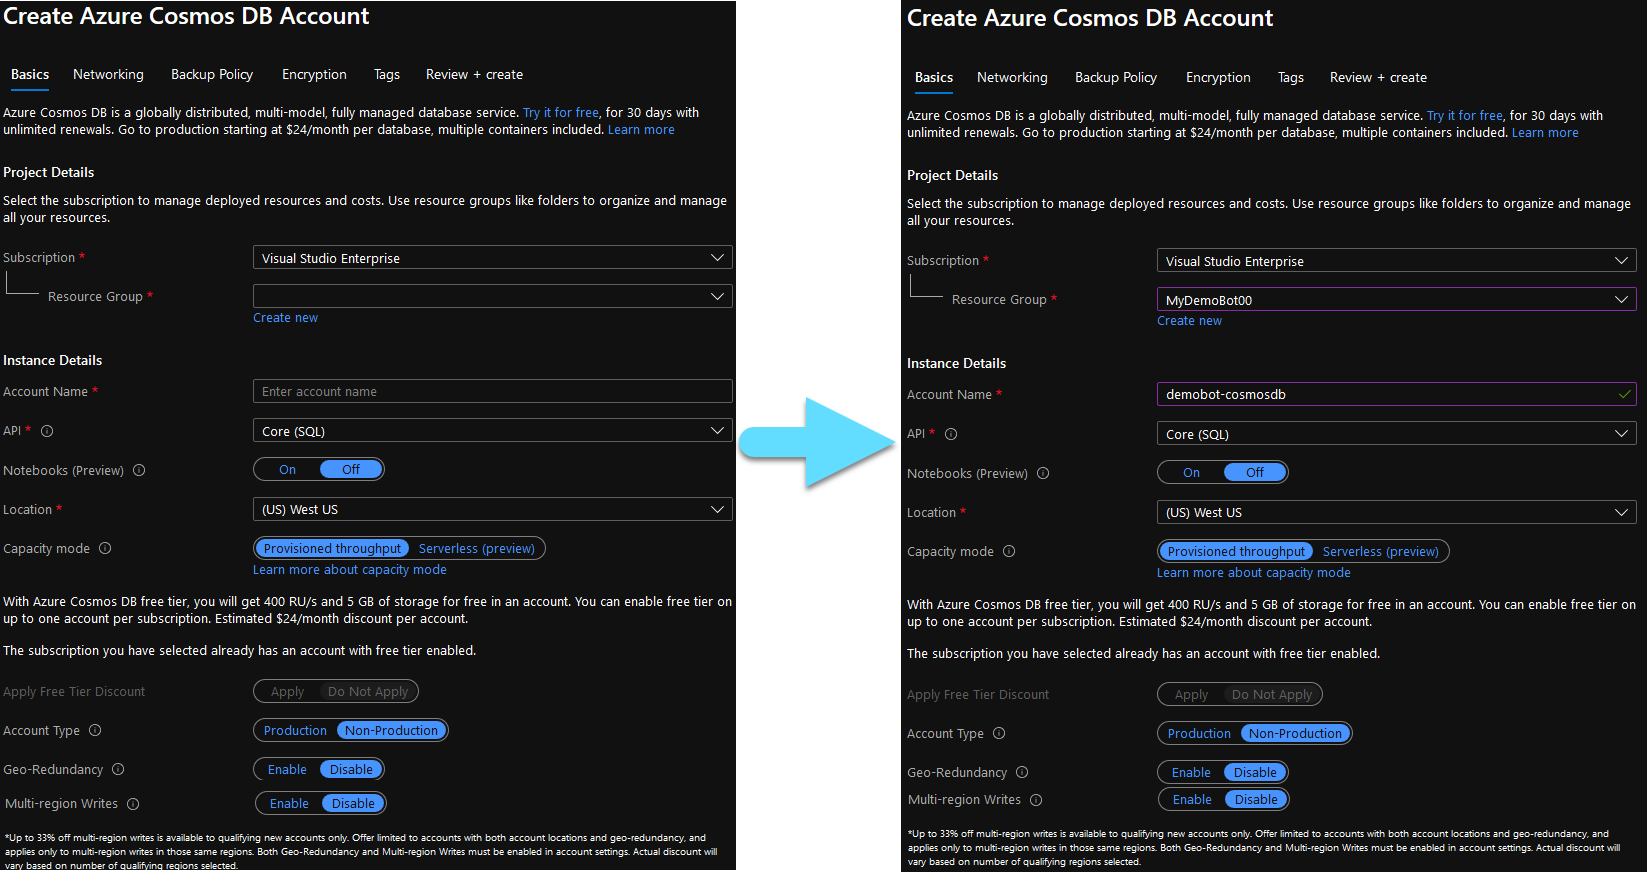
Complete the form like in the picture above and click Review + create to proceed.
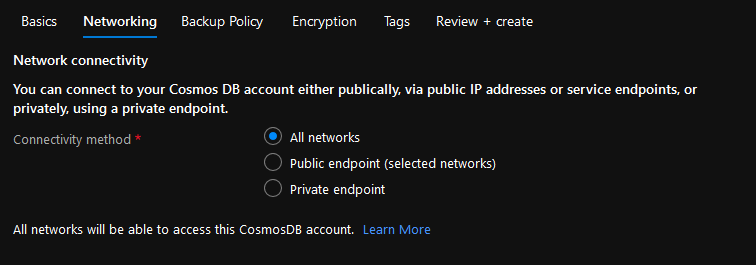
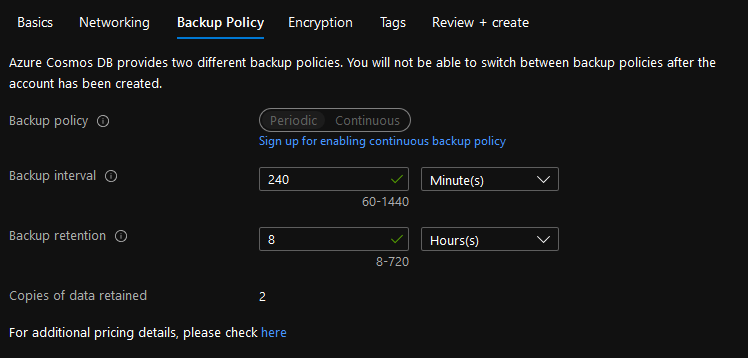
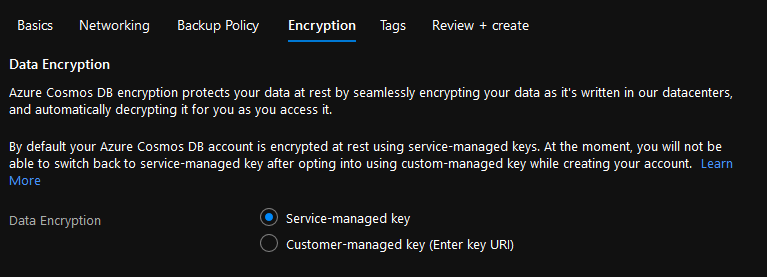
You can also change Networking, Backup Policy and Encryption. We will be keeping the default values for now.
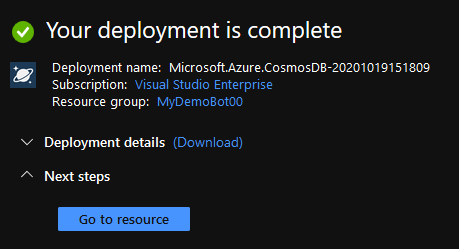
Ensure that everithing is in order and click Create to deploy your database. Deployment might take a few minutes.
Click Go to resource and navigate to the Keys tab at the left. Here you can find your Service Endpoint and Database Key.
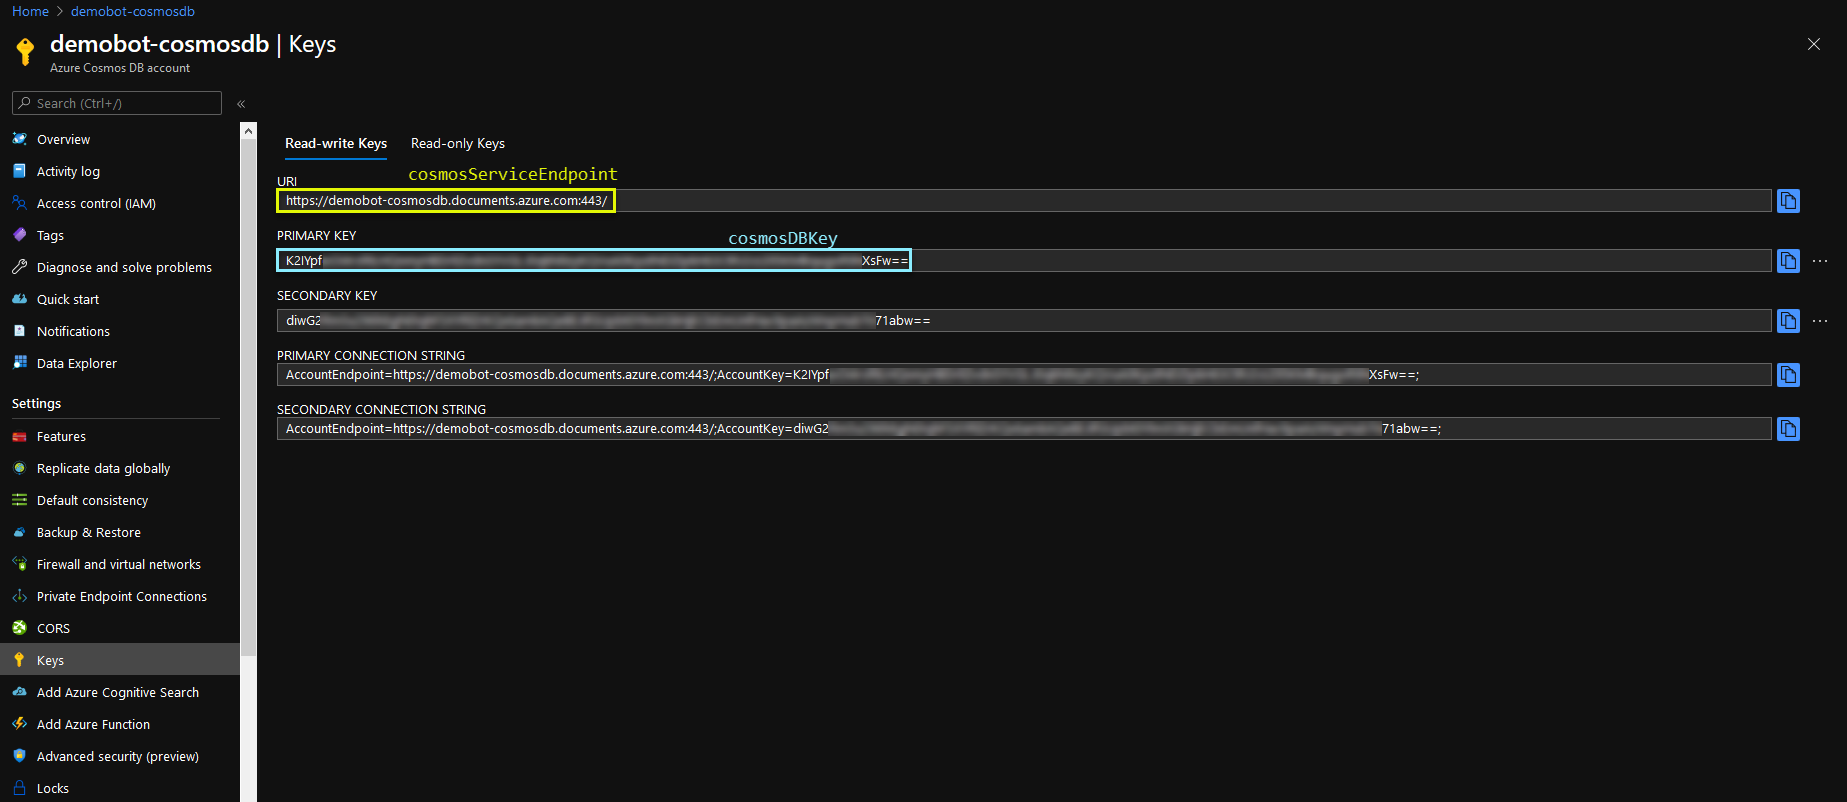
After you save them, navigate to the Settings tab to start setting up your database.
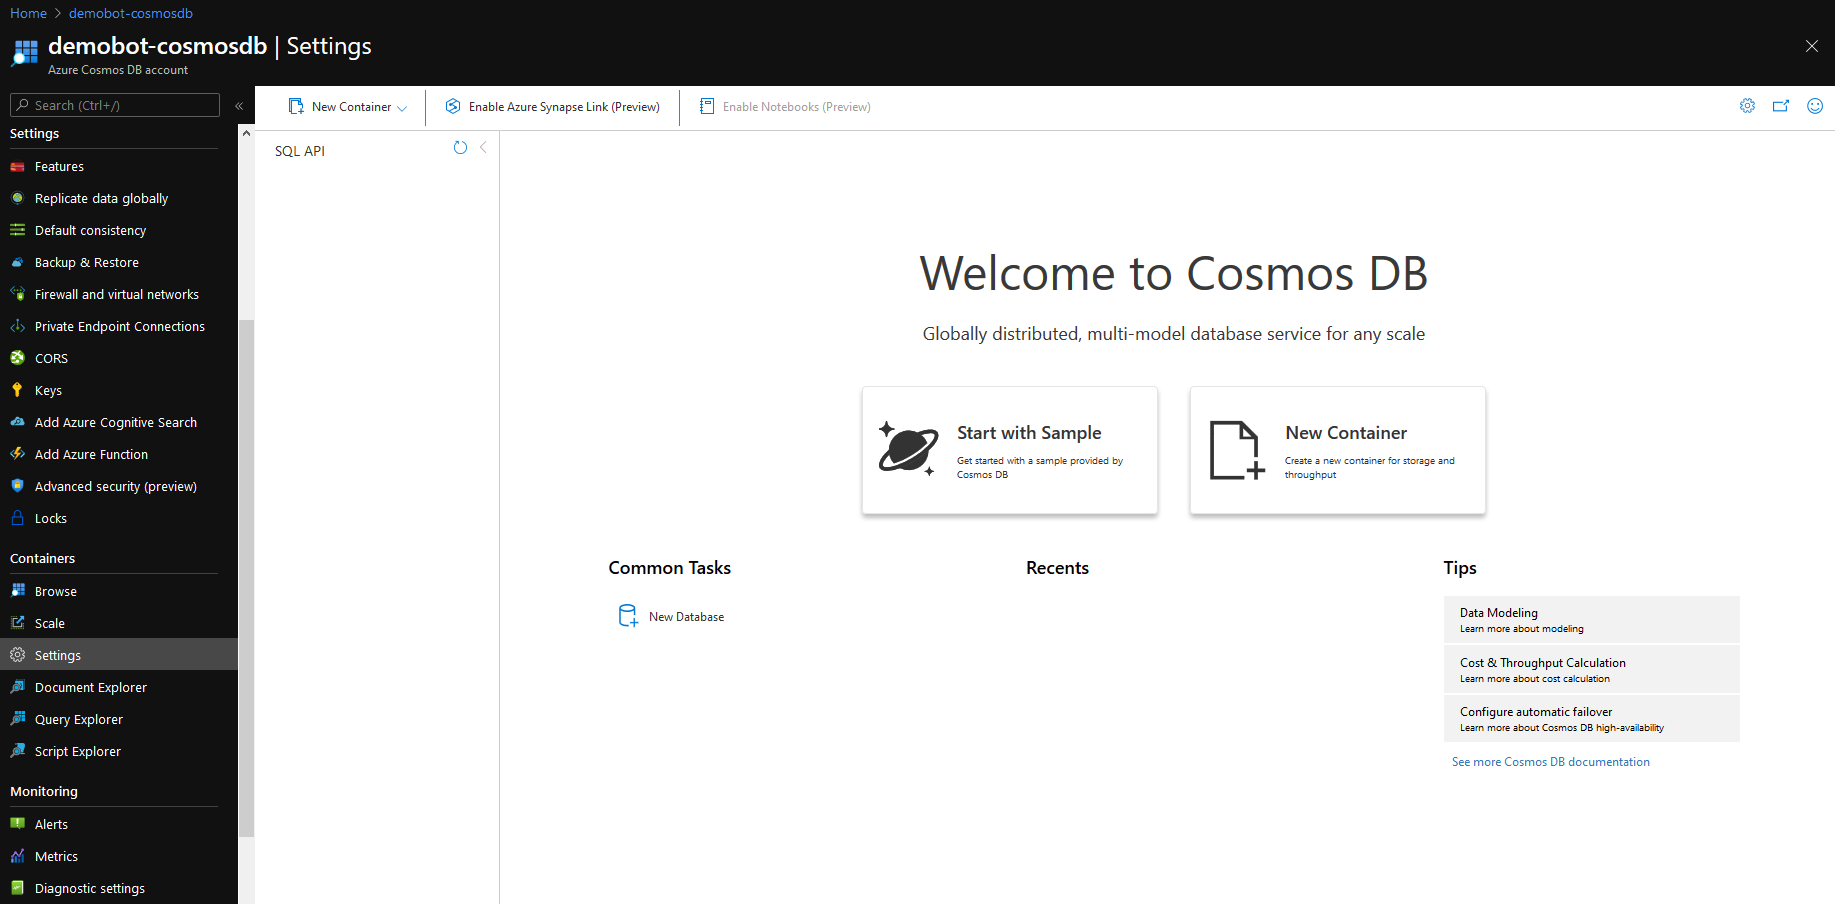
Click New Database to create a new Database in your account.
- The Database id field is the name of your database and you need to save it for later.
- Throughput is measured by RU/s (Request Unit per second). A read of 1KB document is 1 RU. Choose as many RUs to suit your needs.
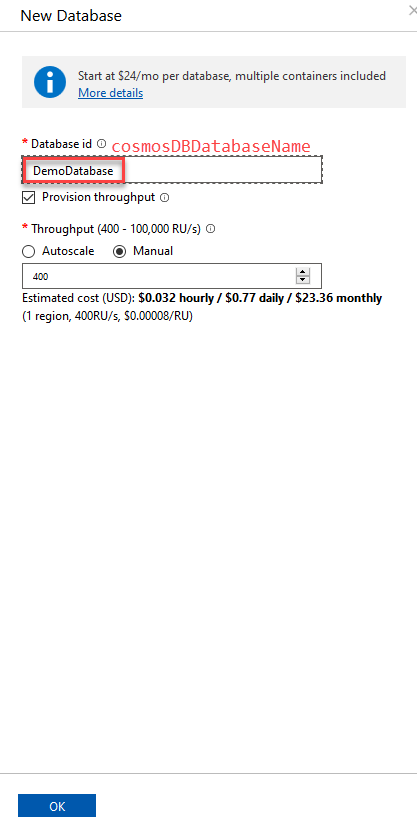
Click OK to create your database. After your database is ready, you need to create a container. Click New Container and fill in the details for your first container.
- Use existing radio button should already be selected and the Database id field should be populated with the database name tha you selected before.
- Container id is the Name of your Container and you need to save it for later use.
- For Partition key input /id.
You can leave the rest of the fields with their default values.
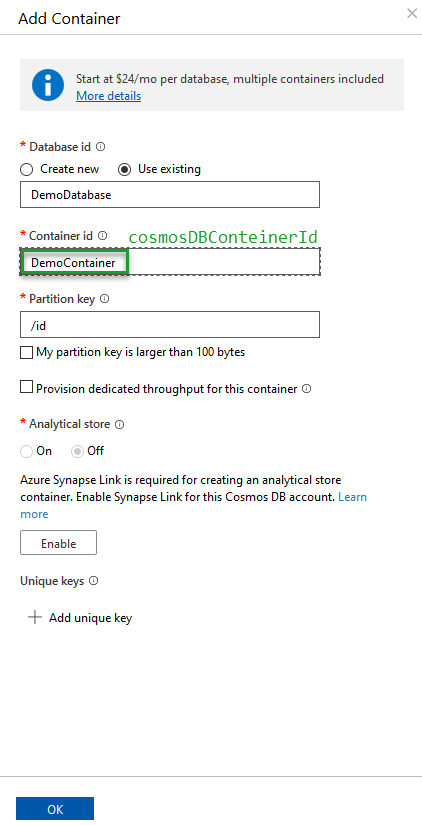
Click OK to create the container.
Your work here is done. Now is time to connect your project to the database.
Connect
Open Visual Studio, go to Project -> Manage NuGet Packages and install Microsoft.Bot.Builder.Azure package, considering you are using bot framework. You might need to update the rest of your packages first.
You will need to provide your Service Endpoint, Key, Database Name and Container ID. All of these are captured from the steeps above. You will also need to create a Storage Query to be able to send and fetch data from the database.
// CosmosDB Initialization
private const string cosmosServiceEndpoint = "https://demobot-cosmosdb.documents.azure.com:443/";
private const string cosmosDBKey = "K2IYpfYOUR_COSMOSDB_KEYXsFw==";
private const string cosmosDBDatabaseName = "DemoDatabase";
private const string cosmosDBConteinerId = "DemoContainer";

// Create Cosmos DB Storage.
public static readonly CosmosDbPartitionedStorage CosmosDBQuery = new CosmosDbPartitionedStorage(new CosmosDbPartitionedStorageOptions
{
    AuthKey = cosmosDBKey,
    ContainerId = cosmosDBConteinerId,
    CosmosDbEndpoint = cosmosServiceEndpoint,
    DatabaseId = cosmosDBDatabaseName,
});
With the following code you can send data to your database. Line 5 sends the data and the rest of the code is a protective measure in case something goes wrong. You can avoid the use of await in line 5 to achieve more responsive results. The program will continue running normally and not wait for the data to be sent in order to continue. If you require the data to be sent before continuing, then you can append an awake statement at the start of line 5. The data you want to sent are provided in line 2, input is the object you want to sent to the database and id is the string containing the unique id of that object on the database.
// Send to DB
var changes = new Dictionary<string, object>() { { id, input } };
try
{
    CosmosDBQuery.WriteAsync(changes, cancellationToken);
}
catch (Exception e)
{
    await stepContext.Context.SendActivityAsync($"Error while connecting to database.\n\n{e}");
}
In order to fetch data from the database, you can use the following code. Replace DemoClass with the type/class of the object you are trying to receive. Line 5 is where the data are being received. We are using the awake statement, because we are using that data immediately after. The rest of the code is, like before, a protective measure in case something goes wrong. After the execution of this code, the object databaseValue will contain the object fetched from the database.
// Fetch data from DB
DemoClass databaseValue = new DemoClass();
try
{
    var cosmosDbResults = await CosmosDBQuery.ReadAsync(new string[] { findId }, cancellationToken);
    if (cosmosDbResults.Values.FirstOrDefault() != null)
        databaseValue = (DemoClass)cosmosDbResults.Values.FirstOrDefault();
}
catch (Exception e)
{
    await stepContext.Context.SendActivityAsync($"Error while connecting to database.\n\n{e}");
}
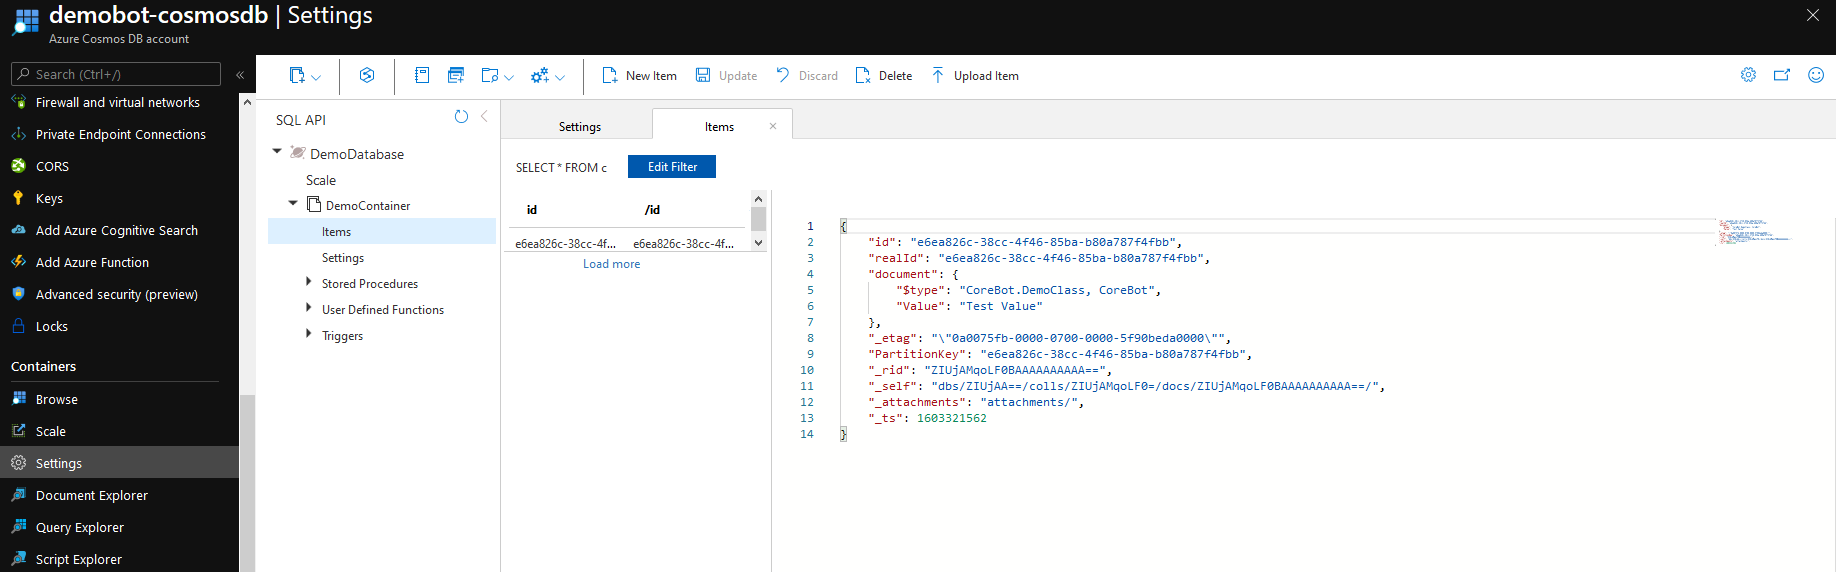
You can visit your resource in the Azure Portal to see all the objects in your database. Go to the Settings tab and select the Items of the container you created. Here you can see an object of the type DemoClass, which contains a string called Value, with Test Value as it’s value.
This is all you need to connect Azure Cosmos DB to your project and have a fast and easy to use database at your fingertips.