Value prediction using ML.NET
 June 02, 2021
ML.Net is an open source and cross-platform framework created by Microsoft that utilizes Machine Learning to give the user the ability to effortlessly manipulate data in their own volition. Using the available model creation, data can be transformed into a prediction in seconds. ML.NET runs on Windows, Linux, and macOS using .NET Core, or Windows using .NET Framework. 64 bit is supported on all platforms. 32 bit is supported on Windows, except for TensorFlow, LightGBM, and ONNX-related functionality. You can learn more here.
Value prediction uses machine learning to predict values based on the rest of the data given in a dataset.
Create Model
To setup ML.NET in your machine follow this post.
After you are done, launch Visual Studio and create a new Console App (.NET Core).
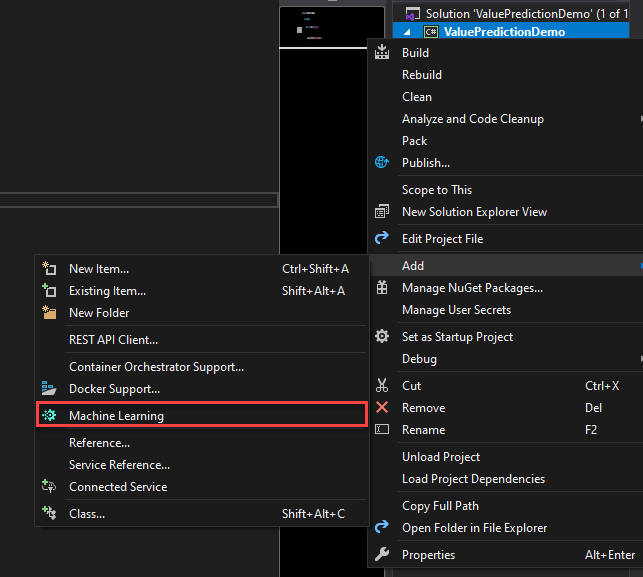
Then right click on your project in the Solution Explorer and select Add -> Machine Learning.
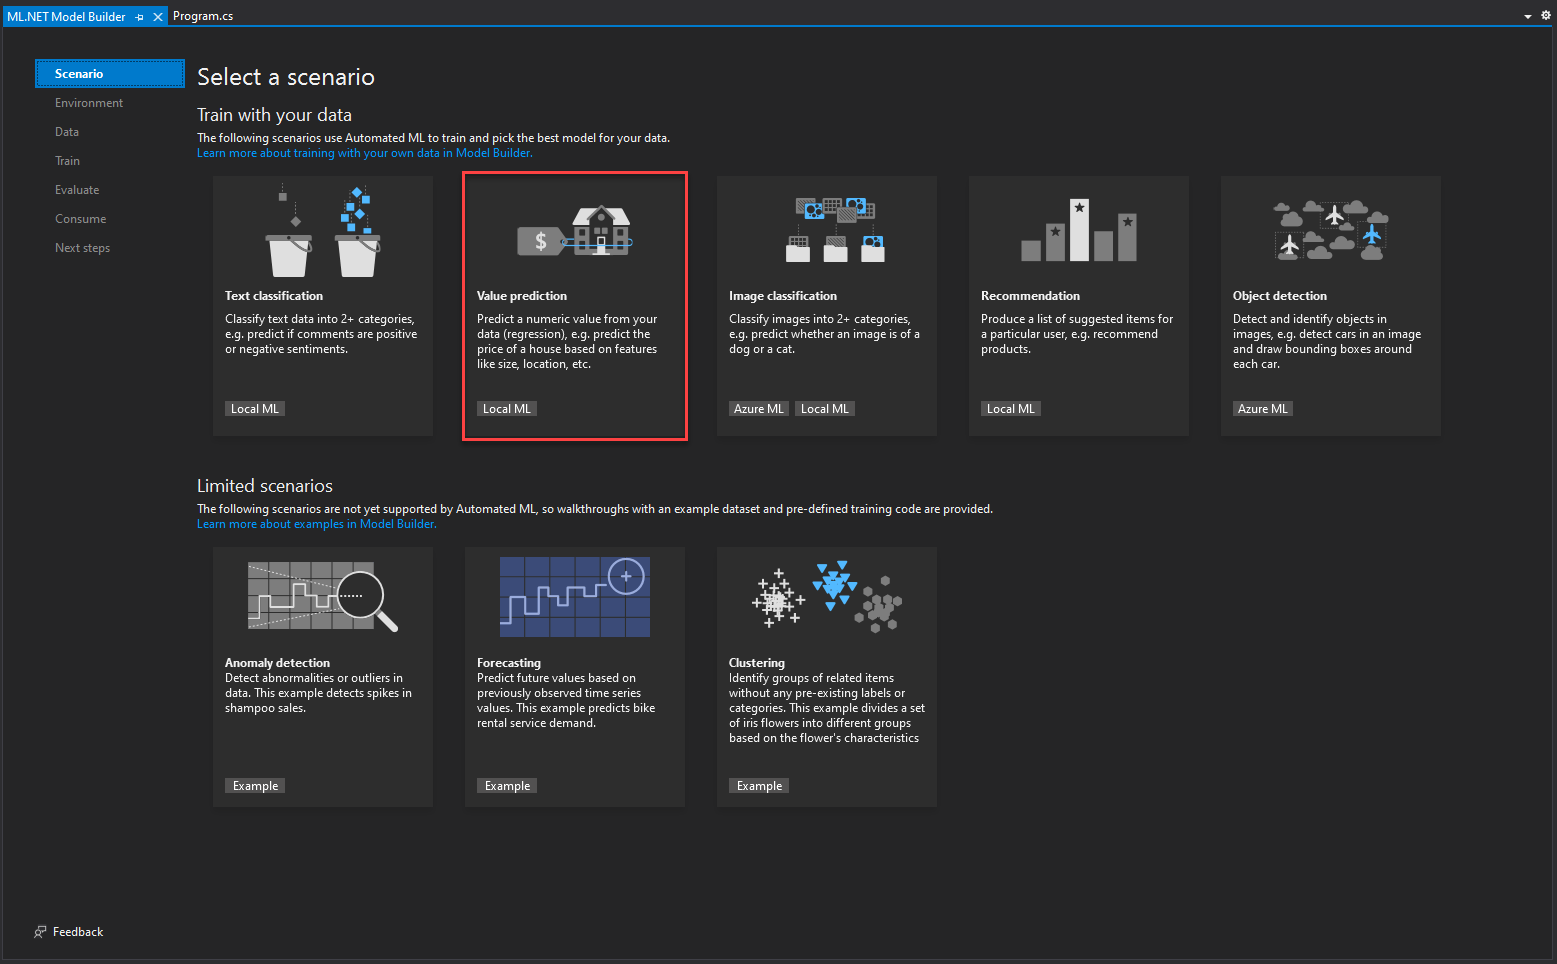
You will be presented with the ML.NET Model Builder. Select the Value prediction scenario.
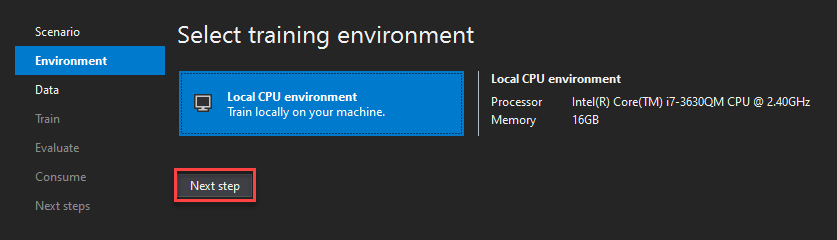
In this step you can choose where to run the model. You can choose your local machine and click Next step.
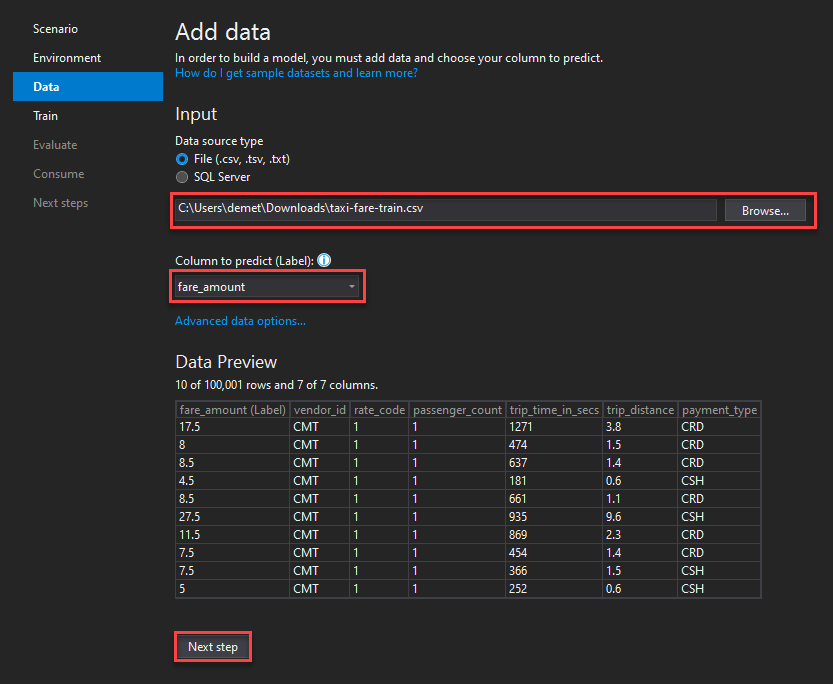
Here you can input your dataset. Ensure that you have the File option selected, but you can choose the SQL Server option if you happen to have one.
Click Browse and enter your dataset, We are using this sample dataset for this demo.
Next, in Column to predict you are choosing the column of the dataset that contains the values that are going to get predicted by the model. For this dataset you can choose the fare_amount column. Then click Next step.
Here you can choose your training time, this depents on many variables such as your dataset size and your processor. You can find some estimates here. The default value is 10 seconds, but you can step it up to 60 to have a bit more time to train. Then click Start training.

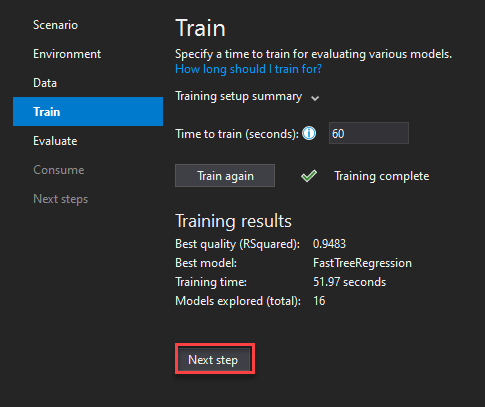
After the training is complete you can see which is the best model for your use case. You do not need to do anything, just click Next step.
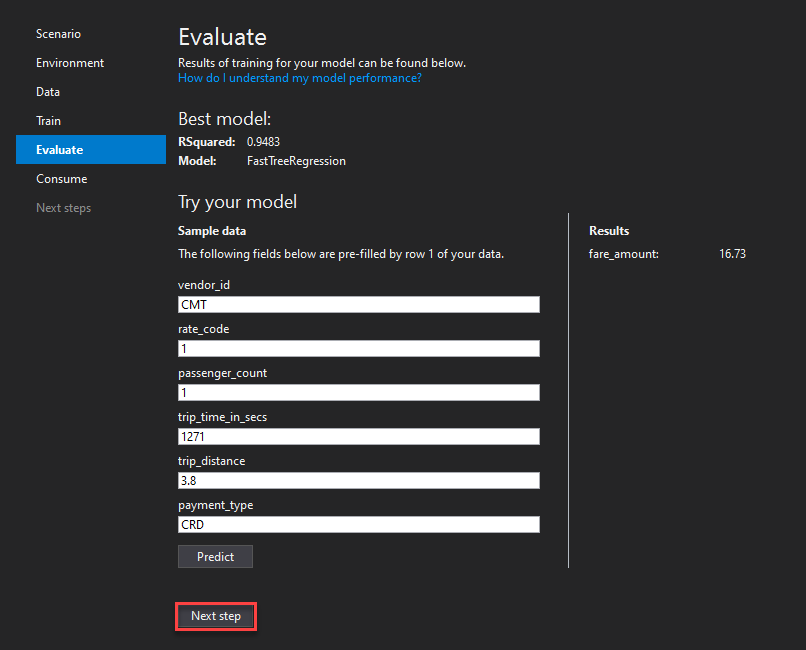
In the Evaluate step you can try some predictions to see if you are satisfied with your model. After that click Next step.
And you are ready to consume your model. Just click the Add to solution button to import it into your Console App.

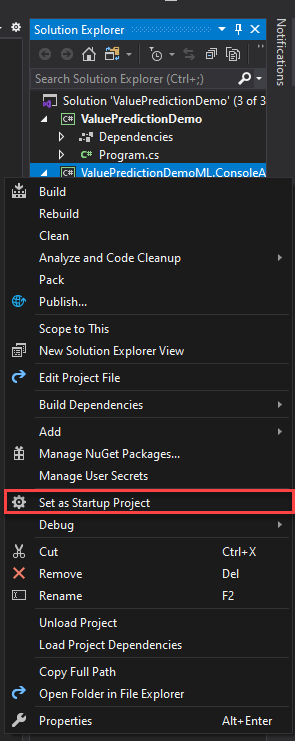
Go to the Solution Explorer, right click on the newly created Console App (Not the Model) and select Set as Startup Project.
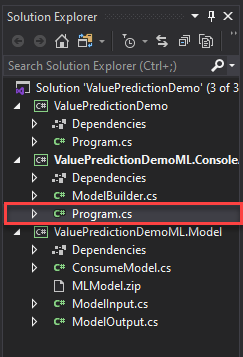
Now navigate to Program.cs to make any changes you want to your project.
And you are all set. Your value prediction model is good to go. The only thing left to do, is to test it.
Test
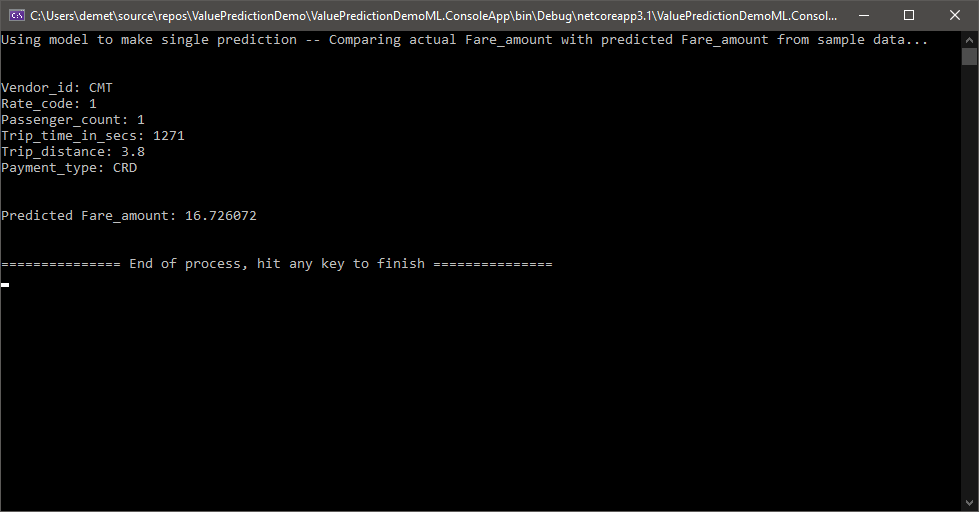
Navigate to the Main() function of your newly created Program.cs file. The following code gives the input based on which the model will make the prediction. You can change the data here as you like.
ModelInput sampleData = new ModelInput()
{
    Vendor_id = @"CMT",
    Rate_code = 1F,
    Passenger_count = 1F,
    Trip_time_in_secs = 1271F,
    Trip_distance = 3.8F,
    Payment_type = @"CRD",
};
We run the solution and we get the results for the default input values.
For the second test we changed the trip distance from 3.8 to 6.2 and as expected the predicted fare amount is significantly higher.

This is how you can use ML.NET to predict values in a fast and easy way!