First look at Azure Bot resource
 June 22, 2021
Azure Bot Service is a comprehensive development environment for designing and building enterprise-grade conversational AI.
Prephase
You might have seen this notification when trying to create your own Web App Bots. It prompts you to create your bots using the Azure Bot resource, as the old and trusty Web App Bot slowly starts to become deprecated. So, let’s dive in and see what’s new!

Create
Search for the Azure Bot resource, you can easily find it in the Marketplace.

Unlike Web App Bot, in the Azure Bot resource you only need to provide the Bot handle and the Resource Group, in order to create the resource.
Let’s have a look on what each field does.
Only the fields with the ‘*’ are mandatory.
- The Bot Handle is a unique identifier to your bot.
- The Subscription field is populated by default with your default azure subscription.
- Resource Group is the group that will contain the resources you are creating now. You can either create a new one, ore use an existing one.
- Choose the Pricing Tier that suits the needs of your bot. It is automatically payed using your Azure credits. Here are your options:

- Lastly on Microsoft App ID you can choose your own App ID and password for your bot, or you can leave it as is, to automatically create one for you.
As you can see, a LUIS app is not created by default, so you will most propably need to create it afterwards.
When you are ready click the Review + create button.

This is the final validation before you create your bot. If everithing went as planned, click Create to deploy your resource.

You will be notified once the deployment is complete and you can go to your newly created resource. The deployment process should not take longer than a few minutes.
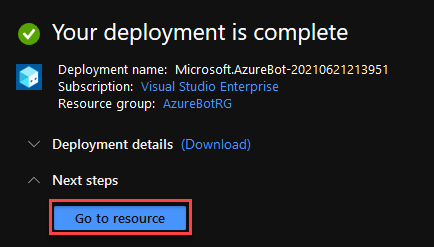
As a side note, if we take a look in our resource group we only see two resources. Our Azure Bot and a Key Vault. The Azure Bot resource handles everithing regarding our new bot, and is where we can publish our bot’s code.

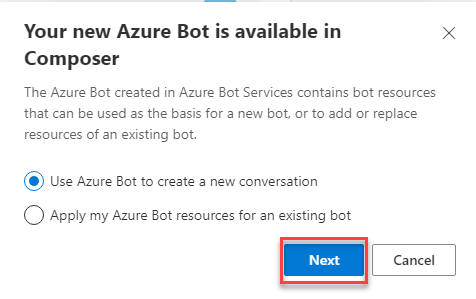
Back to our Azure Bot resource, as you can see, no code is created for us automaticaly and for a good reason. This process is now part of the Bot Framework Composer. Download the composer from here and click on the Open in Composer button to start creating your bot.

The composer should now pop up. Unless you have a bot already that you wish to publish, select the first option and click Next.
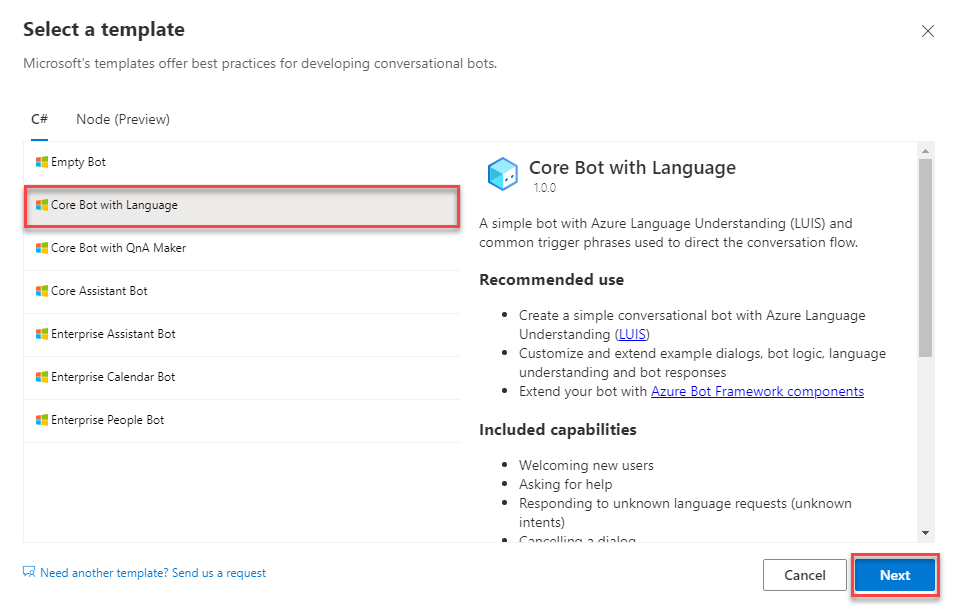
And this is where you can chose the type of your bot and have it populated with code. Keep in mind that, bots that require cognitive services like LUIS or QnA Maker will not create an app to those services automatically, so you will need to create them on your own afterwards.
For this example we are going to use the Core Bot with Language. This requires linking with LUIS, which will be covered in another post. However it does gives us a glimpse of how the Composer works.
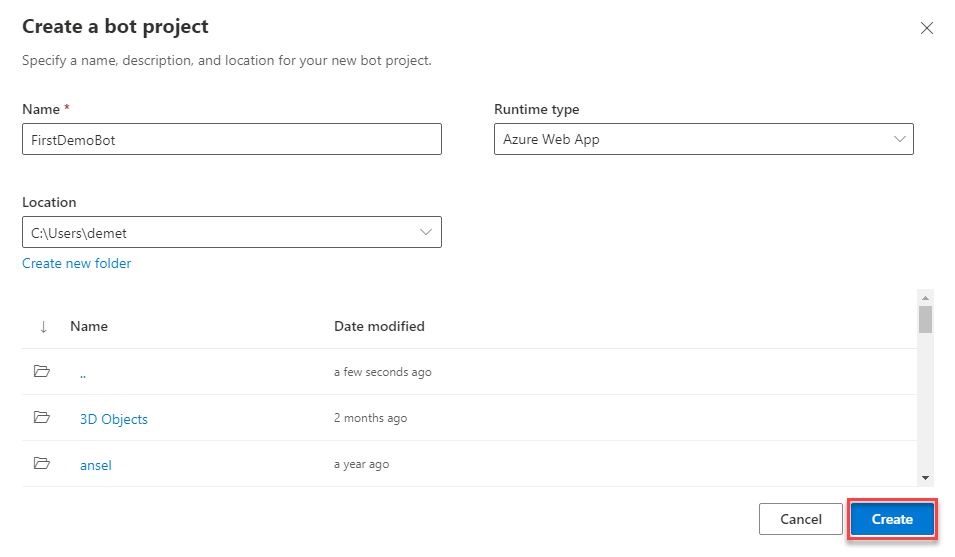
Give a name to your bot and click Create.
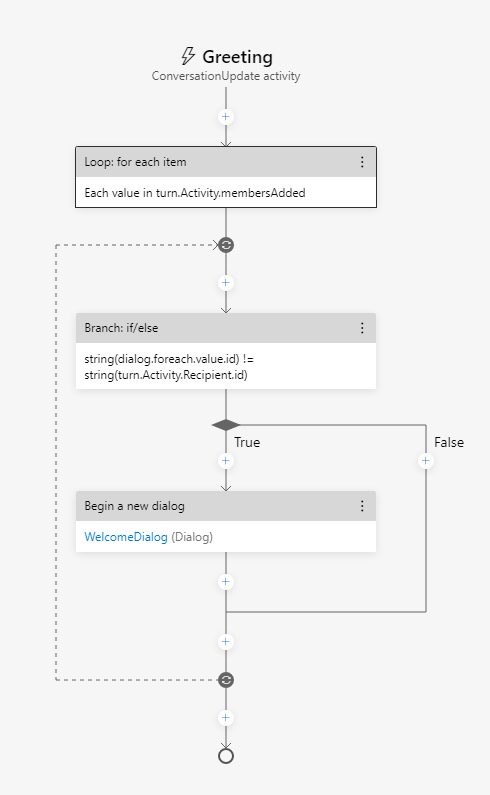
If you navigate, for example, to the Greeting trigger, you are greeted with an intuitive flowchart of how the trigger works. This aims to make the production process of the chatbot easier to understand and expand on. Here you can start the development of your bot.
And that is your first look at the Azure Bot resource!