LUIS Overview
 January 06, 2021
LUIS (Language Understanding) is a cloud-based conversational AI service that applies custom machine-learning intelligence to a user’s conversational, natural language text to predict overall meaning, and pull out relevant, detailed information. Learn more about it here.
A client application for LUIS is any conversational application that communicates with a user in natural language to complete a task. It becomes especially usefull when creating a chatbot to provide the ability to comunicate using human language. The communication between LUIS and Azure Bot Service is done using JSON.
Get Started
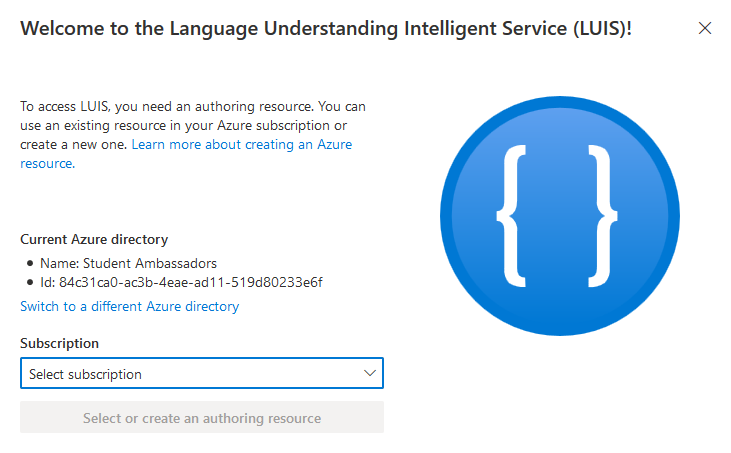
In order to follow through you need a luis app which is already connected with your bot. You can find out how to do it in this post. After your app is ready, Sign in to the LUIS portal at https://www.luis.ai/.
After you Sign in, select your Subscription from the list
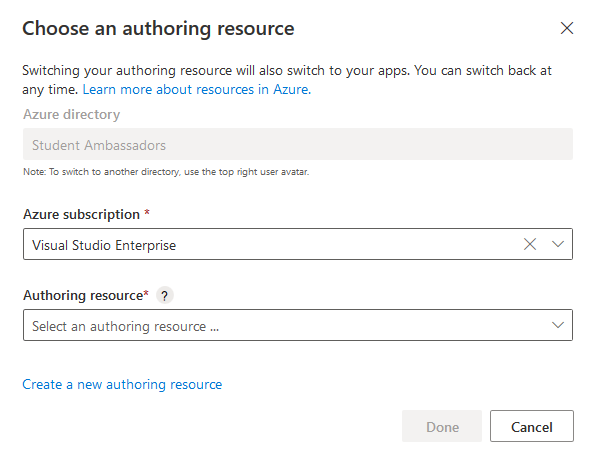
then select your authoring resource and click Done.
You now have in front of you all the available apps in that authoring resource. Pick the one you have connected to your bot.

Here you can manage how your bot understands human language.
Intents
Intents show the intentions of a user and are extracted from the messages that are sent to the bot. For example the sentence “flight to paris” shows an intention to book a flight. LUIS is able to understand the intention of the user and provides you with the correct answer. If the correct answer is not achieved, then you can correct the model and it will improve over time.
Here you can see all the available intents in your model.
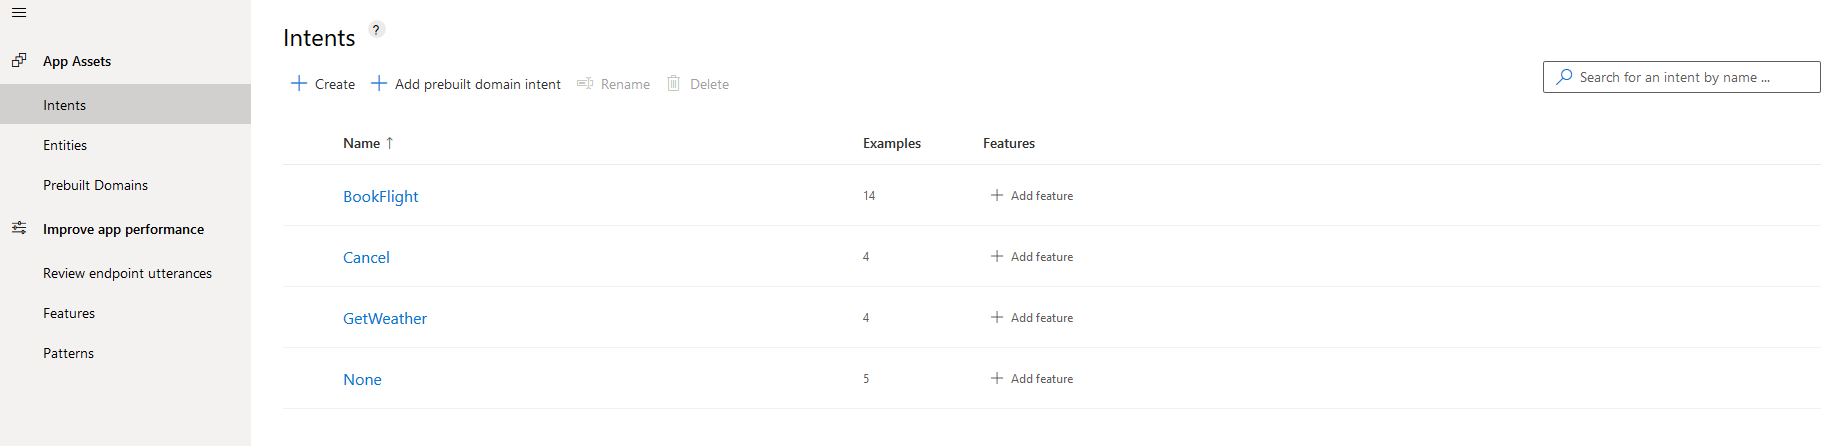
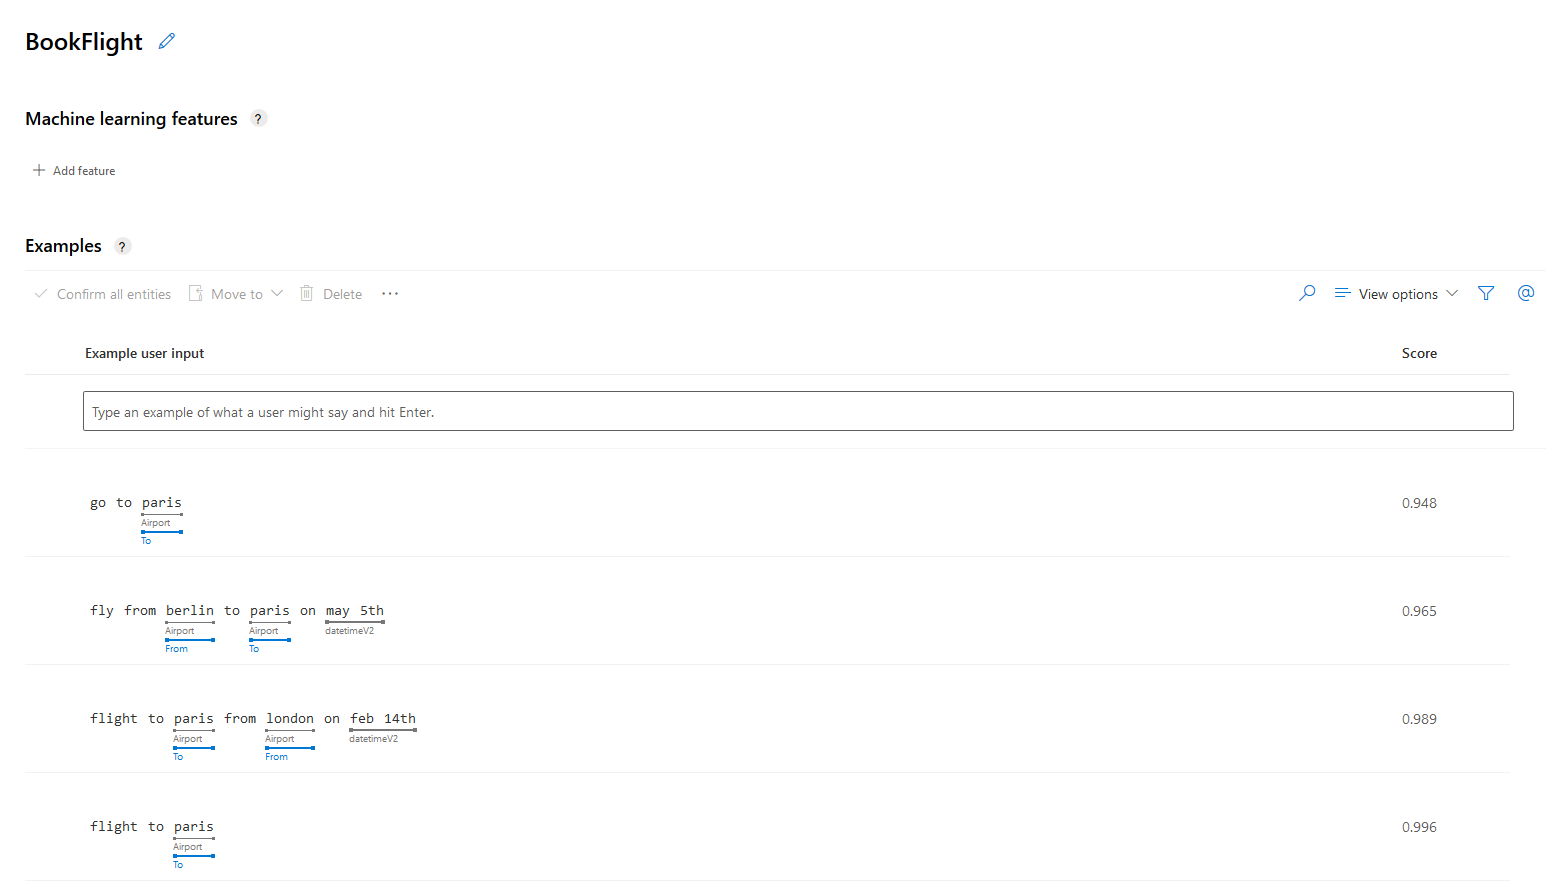
You can review an existing intent by clicking on it. Here you can add, edit or remove utterances (sentencess) that are associated with that intent.
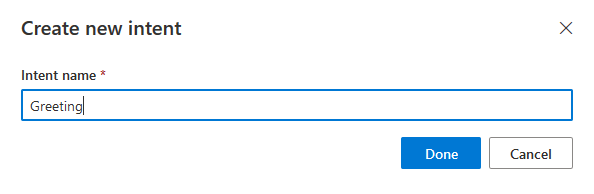
You can create a new intent buy clicking Create and the typing the name of your intent. For example “Greeting”.
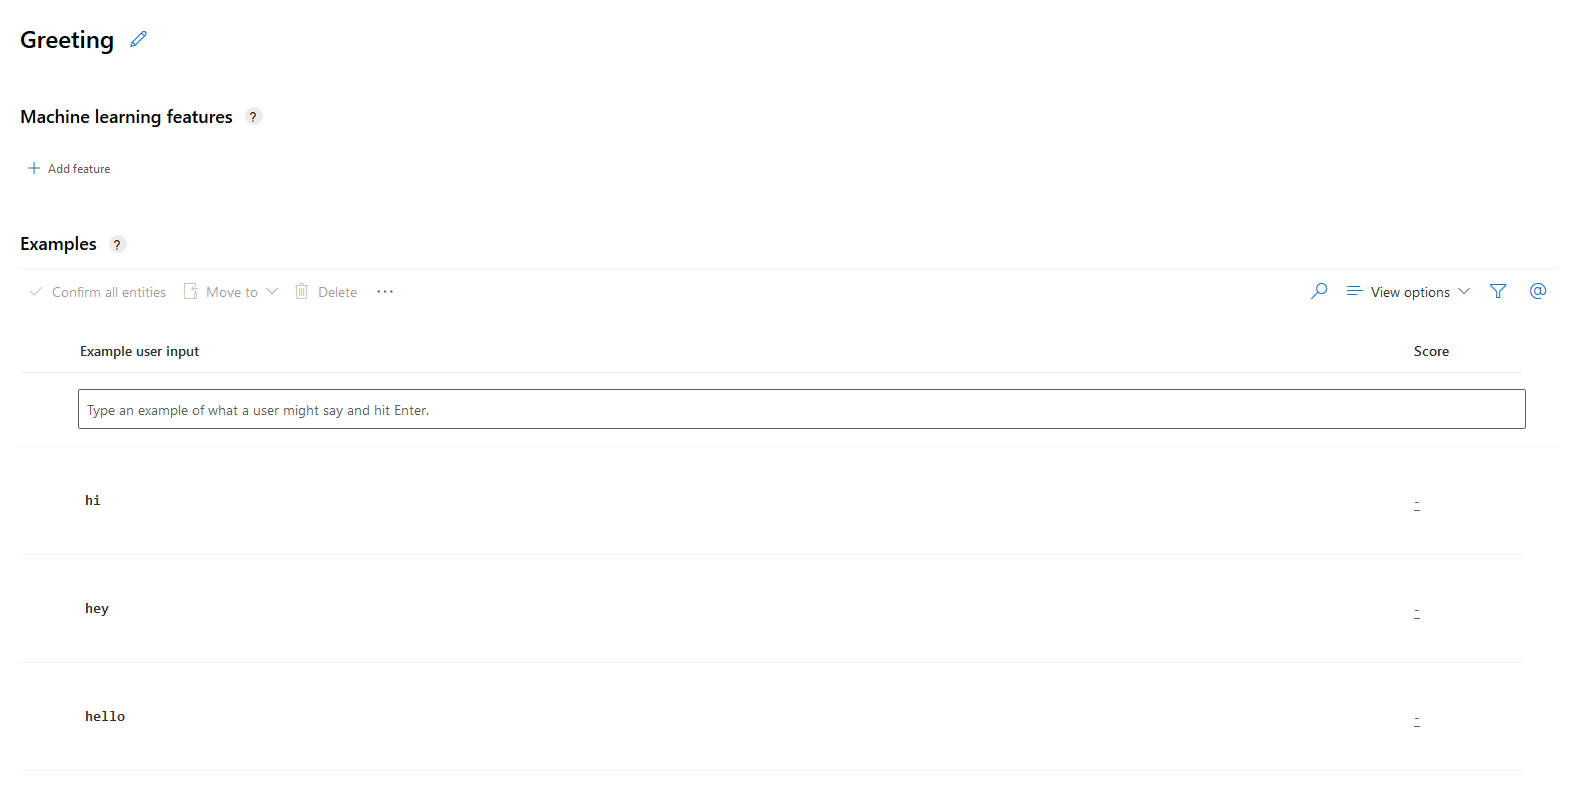
Here you can add the potential utterances that will get recognized as this intent. Because this model uses active machine learning, it will only get better over time as it learns more phrases and associates them with each intent. For now we will put “hello”, “hey” and “hi”.
Entities
Entities are variables that can be extracted form an utterance. For example a certain time or a name. These are the entities that are already included in a new web app bot.
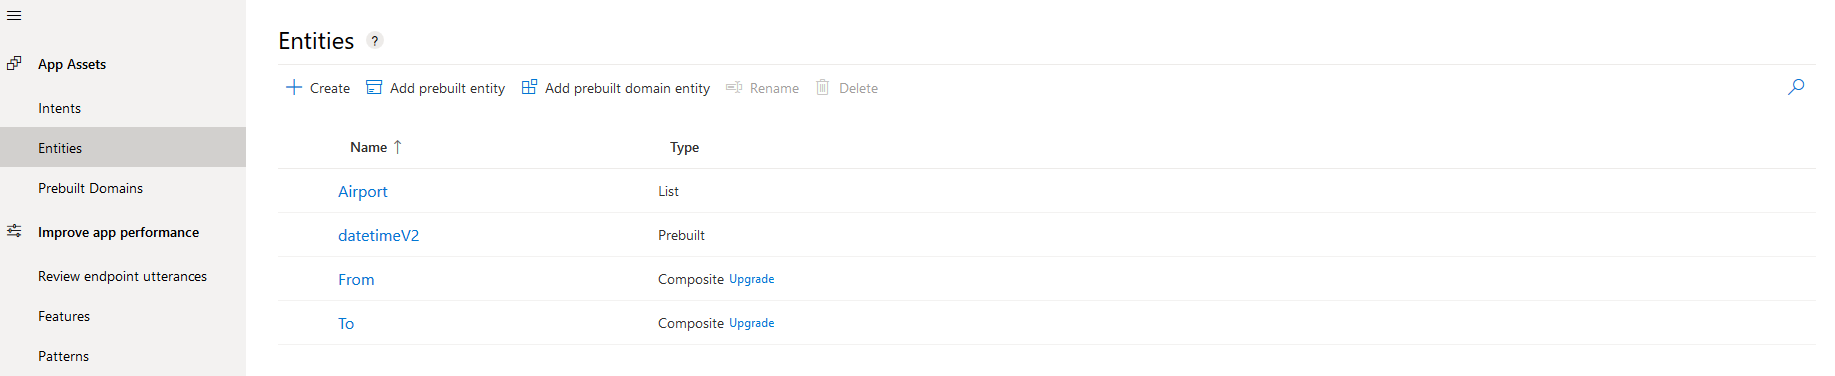
You can click Create to create your own entities, or Add prebuilt entity to add an entity that is already existent in LUIS and is more commonly used. For this example we will Add a prebuilt entity.
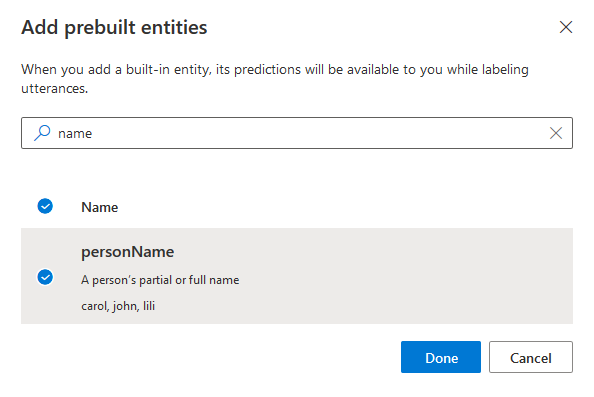
Search for the entity called personName, select it and click Done. This will give your model the ability to identify many common names in any intent.
Review and Publish
Click on the Review endpoint utteracnes tab to see all the utterances that are exposed to your model. This tab is empty when you first create the model, but they will quickly stack up as you use your bot, either durning development or after release. Here is an example.
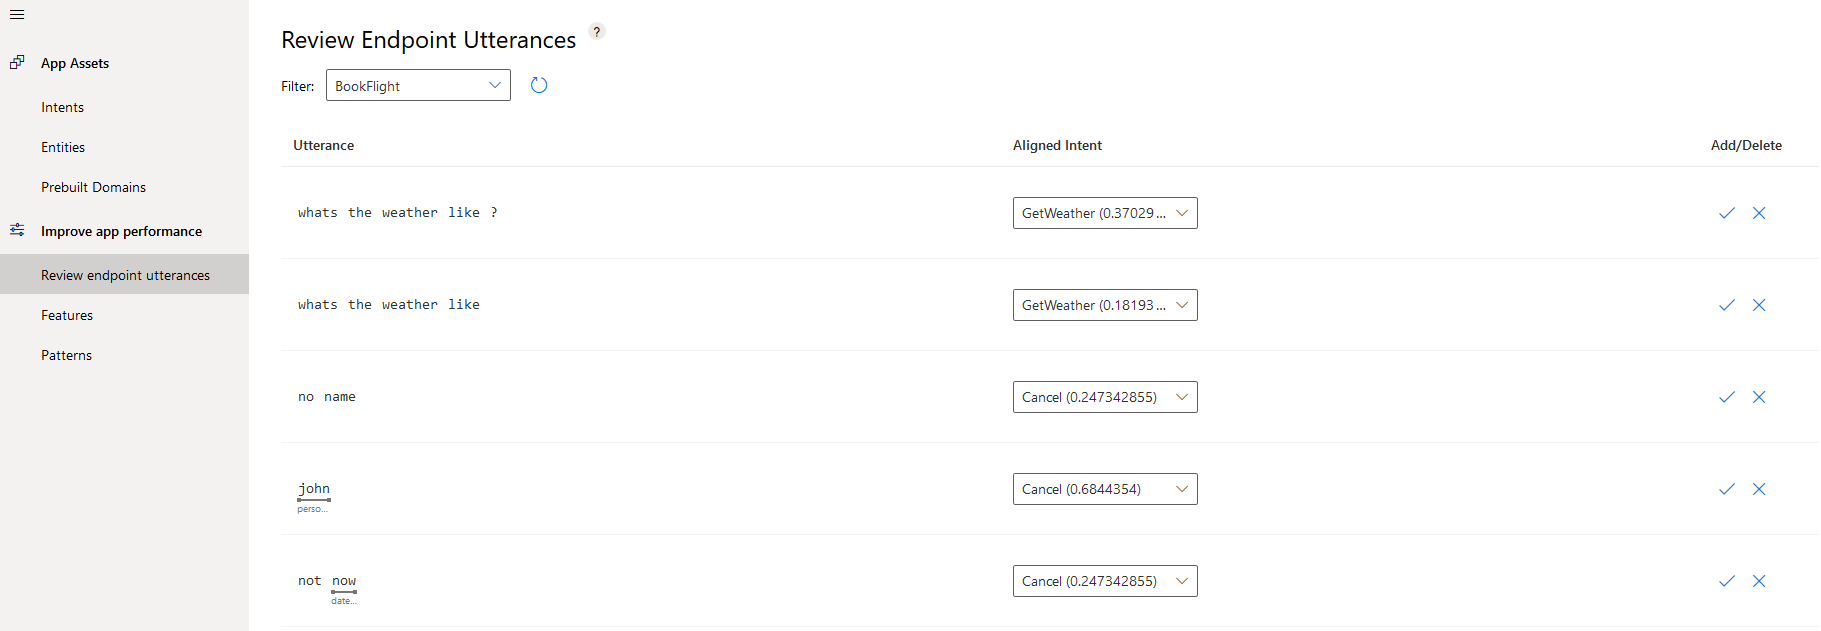
In the Utterance column you can view what the user sent to your bot. You can change the Aligned Intent to match the correct intent, if the model has not guessed it correctly. You can also view the entities in the Utterance column. For the utterance “john” the moddel correctly guessed that is a personName and for the utterance “not now” it guessed tha the word “now” my refer to a datetimeV2. You can add or delete any utterances as you please.
After you are done modifying your model click the Train button at the top right corner. If there are untrained changes available it’s icon will have a red color as a reminder.

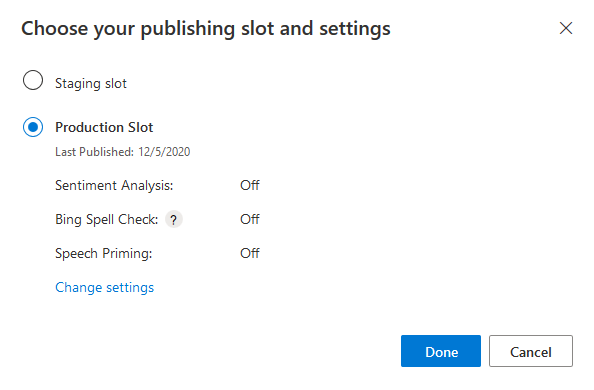
After training your model click publish to make all the changes live.

Select Produtcion Slot and click Done.
Now you can start testing your model inside the LUIS portal by clicking Test. Write your utterance and then click on Inspect to see the results.
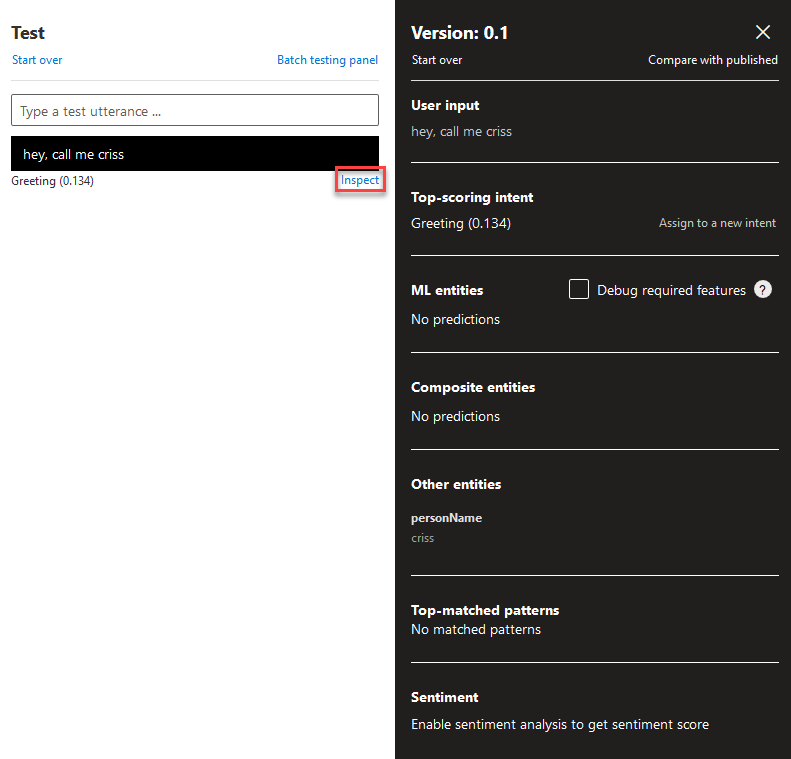
I used the utterance “hey, call me criss” as an example. The model correctly guessed the Top-scoring intent as Greeting and criss as a personName. Important note is that the testing utterances used here are not are not processed as new endpoint hits, therefore are not stacked with the rest of the Review endpoint utterances.
Intergrade to your bot
To implement theese changes to an Azure Bot Service core bot sample you need to add a few lines of code.
In the FlightBooking.cs file, add the lines 9 and 19. This adds the new intent and entity into your json class structure. The samples below shows only a small part of the files.
public partial class FlightBooking: IRecognizerConvert
    {
        public string Text;
        public string AlteredText;
        public enum Intent {
            BookFlight,
            Cancel,
            GetWeather,
            Greeting,
            None
        };
        public Dictionary<Intent, IntentScore> Intents;

        public class _Entities
        {

            // Built-in entities
            public DateTimeSpec[] datetime;
            public string[] personName;
In the FlightBooking.json file add the new intent (lines 11 - 13) in the intents section.
  "intents": [
    {
      "name": "BookFlight"
    },
    {
      "name": "Cancel"
    },
    {
      "name": "GetWeather"
    },
    {
      "name": "Greeting"
    },
    {
      "name": "None"
    }
  ],
Further down the file, in the prebuiltEntities section add the lines 6 - 9 to add the new prebuilt entity.
  "prebuiltEntities": [
    {
      "name": "datetimeV2",
      "roles": []
    },
    {
      "name": "personName",
      "roles": []
    }
  ],
You are now done! The new intent and entity are ready to use by the bot and you can access them like any other intent or entity.