Get started with Speech Studio
 May 12, 2021
Speech Studio serves as a customization portal for the Azure Speech resource. It provides all the tools you need to transcribe spoken audio to text, perform translations and convert text to lifelike speech.
Create
The aim of this post is to get you familiar with the interface and capabilities of Speech Studio.
Let’s dive in!
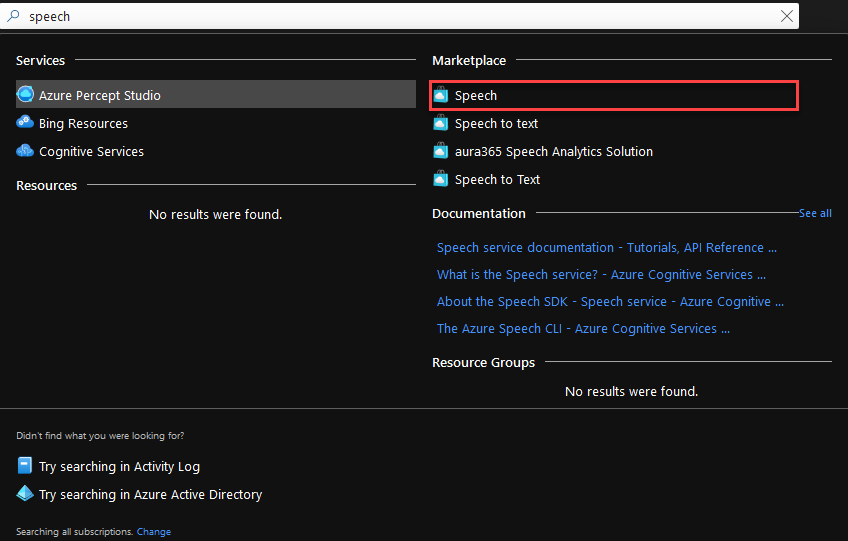
Go to the Azure Portal and find the Speech resource from the marketplace.
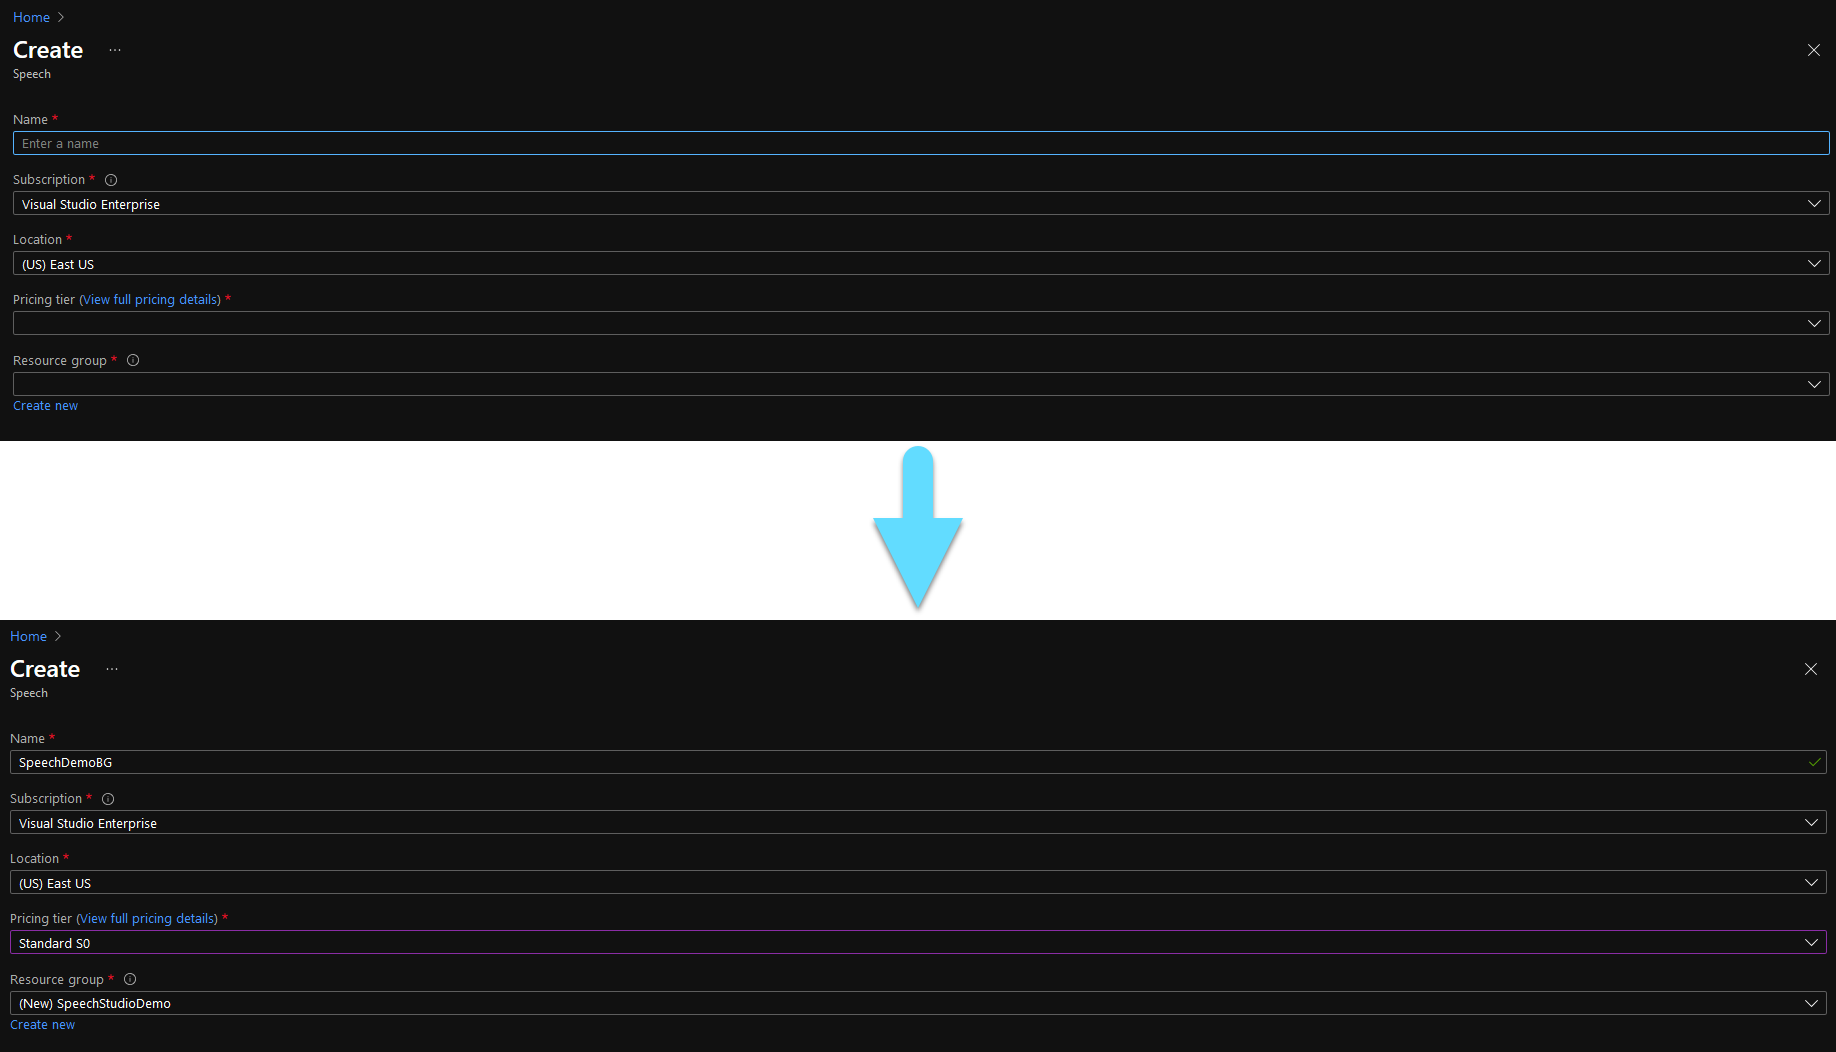
Fill the form. The fields with the ‘*’ are mandatory.
- Name, is the name you need to give to your speech resource.
- Subscription should already be filled in with your default subscription.
- Location is preoccupied by the default location, but you can change it if you like.
- Choose the Pricing tier that best meets your needs.
- For Resource Group, you can use an existing one, or create a new one.
Then click Create.
Wait a few minutes for your resource to get deployed.
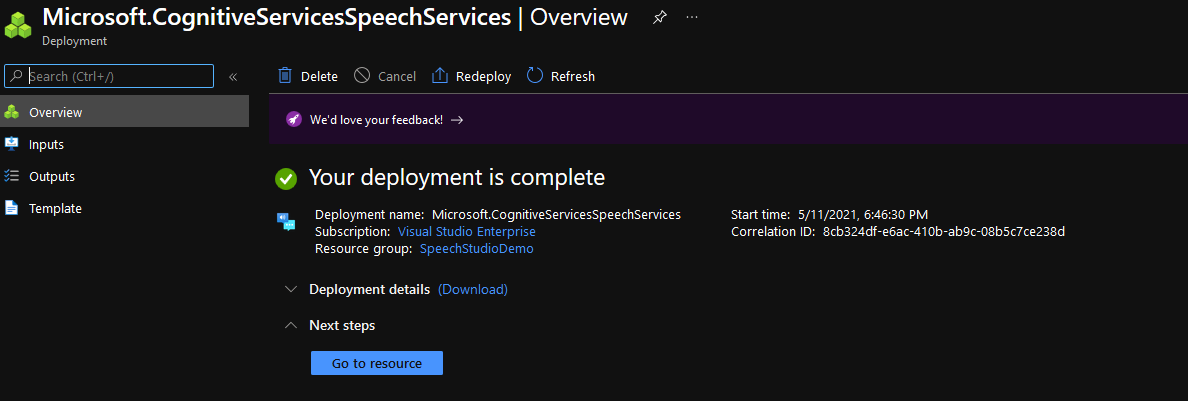
Now visit the Speech Studio portal, select the Speech resource you just created and click Go to Studio.

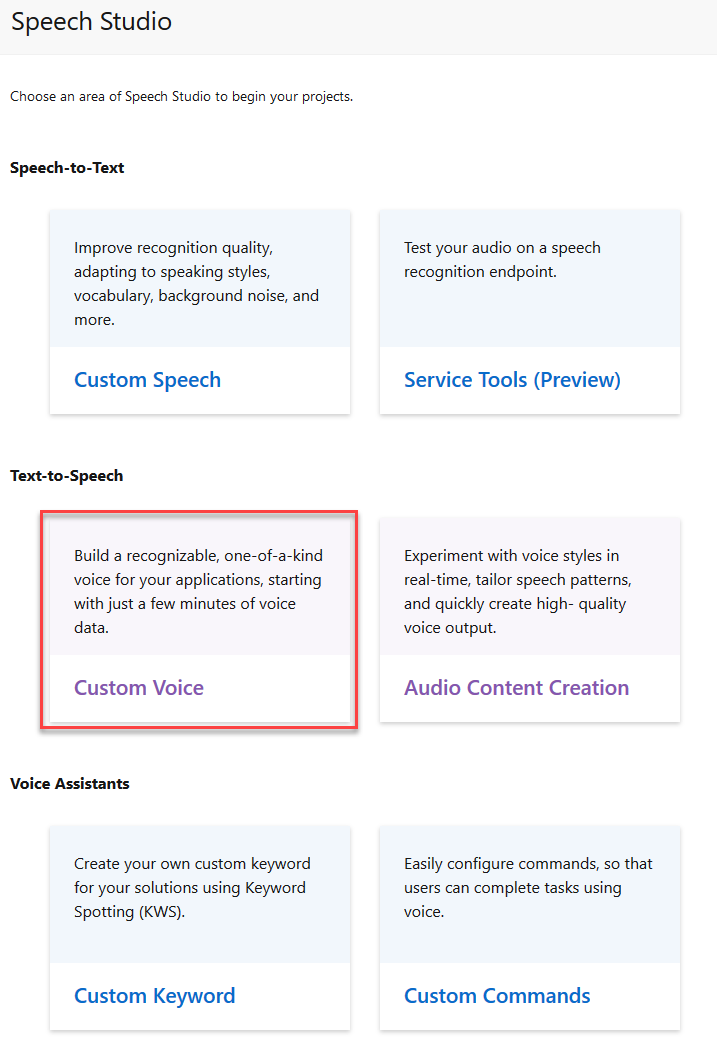
Here you can see all the capabilities of the Speech Studio.
You can create a model that transcripes audio to words, you can configure custom commands for your voice assistant and even create your own text to speech models that can read aloud the text given to them.
We will go with Custom Voice for this demo.
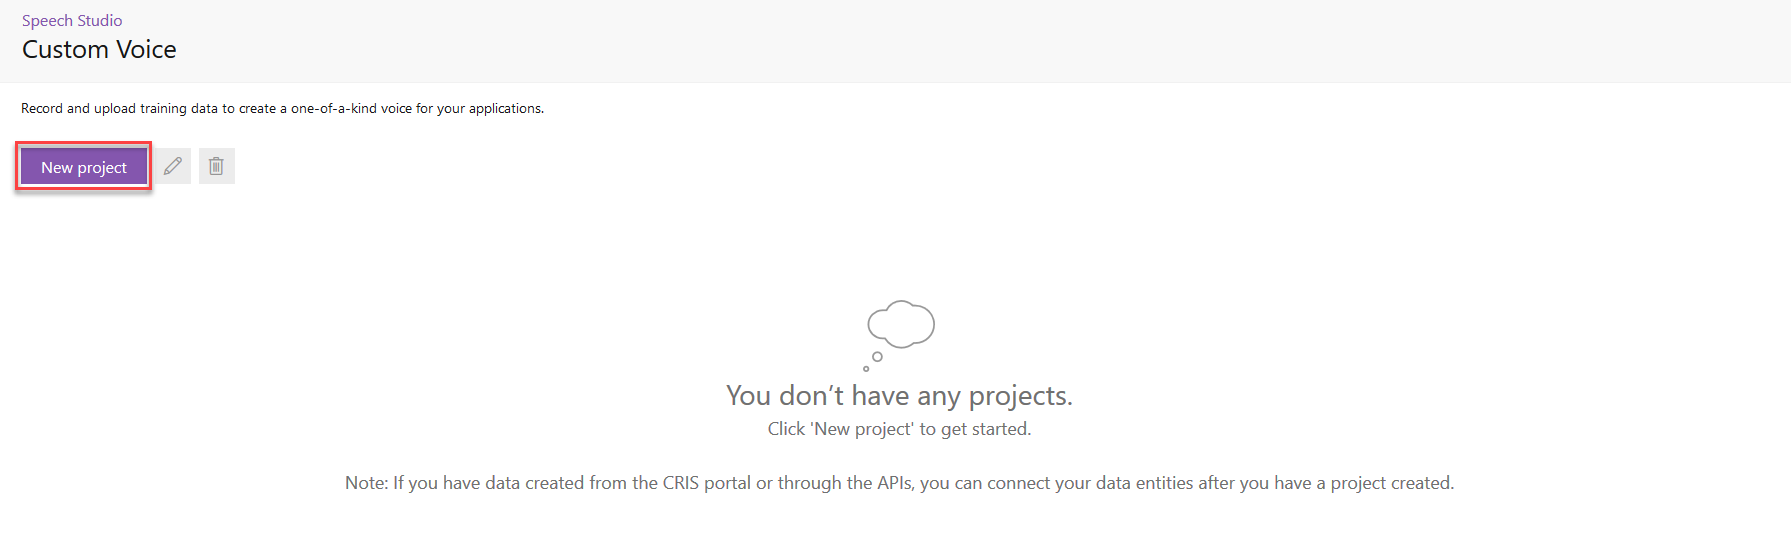
Click on New project to create your project.
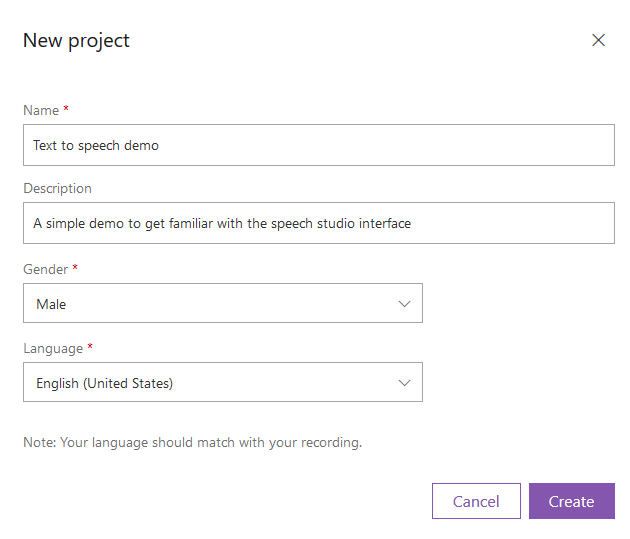
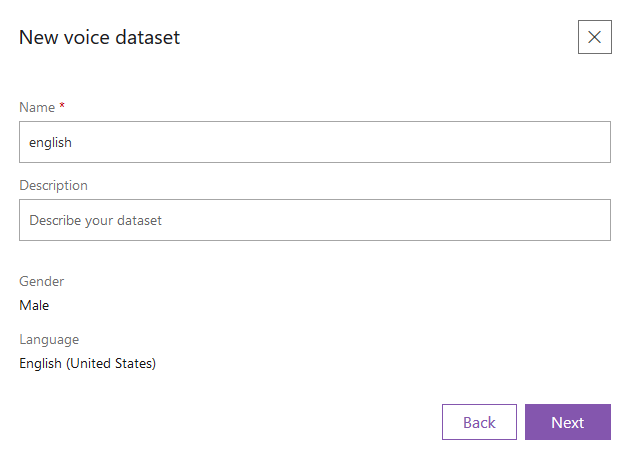
Give your project a name and description. The gender field covers the gender of the person that your model will represent and the language, is the language that will be supported from your model.
Click on your newly created project and upload data.

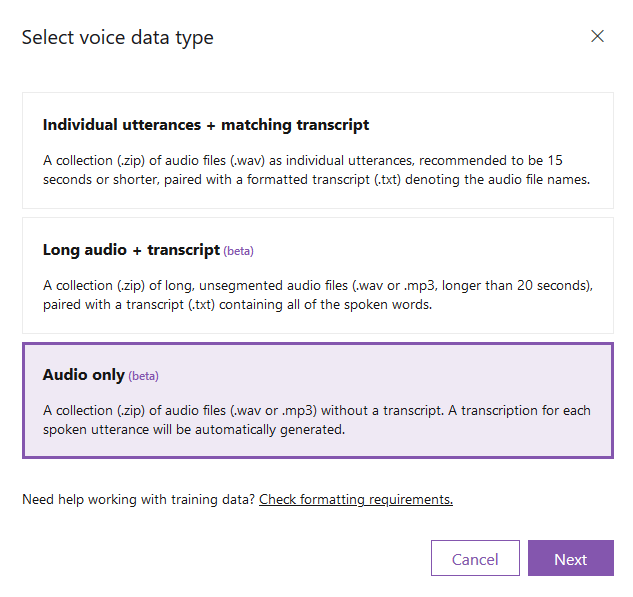
You can find some sample datasets in kaggle and zenodo. However it is preferred to find a relatively big dataset with transcribed text from only one person. Once you find your dataset click on the option that best fits your data and click Next.
Give a name to your new dataset and click Next.
Here you have the option to import a dataset from Azure Blob Storage. If you have your dataset locally, just pick the from local machine option and then click Browse files… to choose which files to upload. Then click Next.

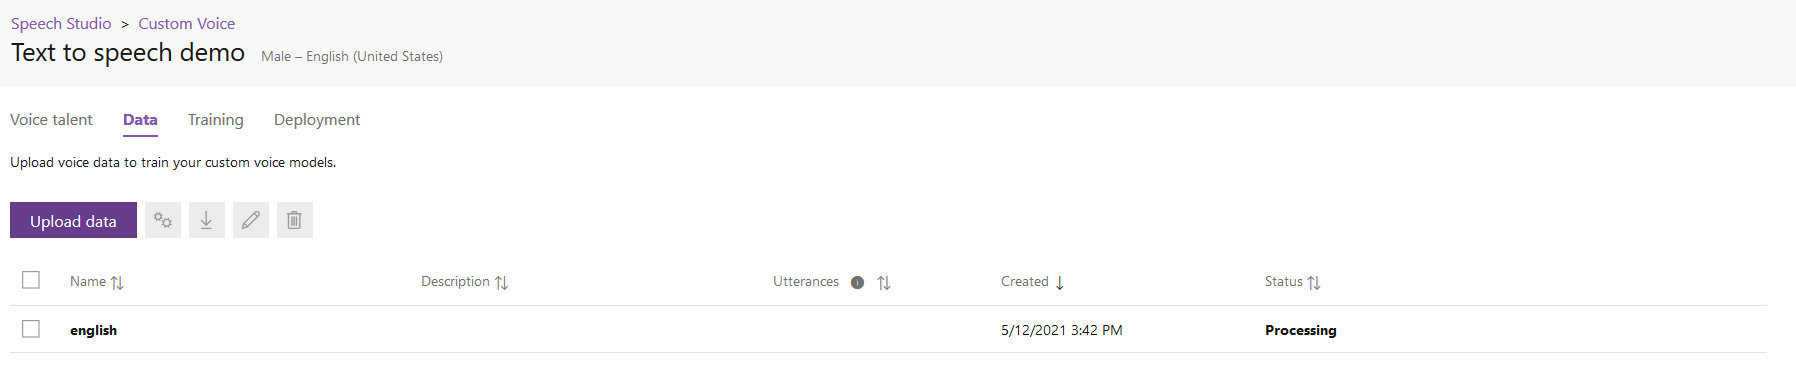
Check the Create a transcription from my voice recordings checkbox and click upload to start uploading your dataset.
Once your dataset is uploads you will begin to see it’s Status as Processing and you might need to wait a few minutes.
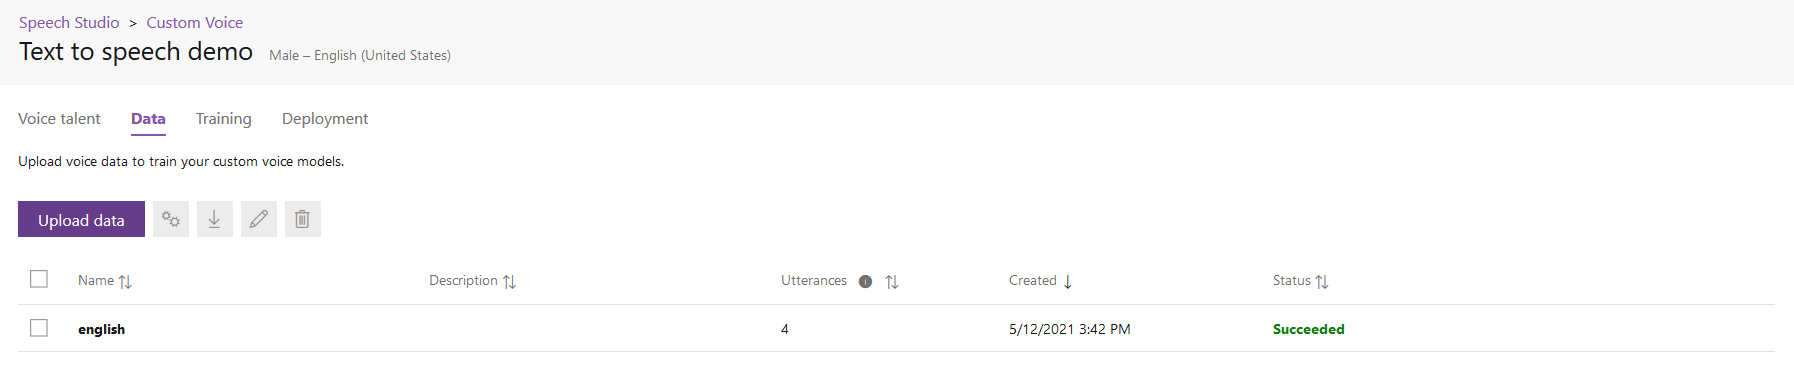
If everything worked out correctly you should see a Succeeded Status for your dataset. After that you are good to go.
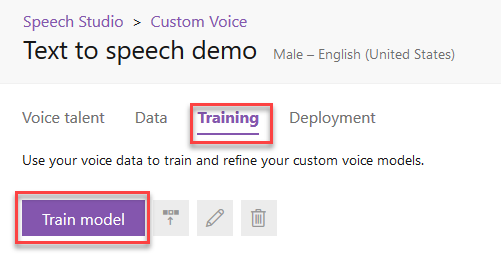
Go to the Training tab and click Train model.
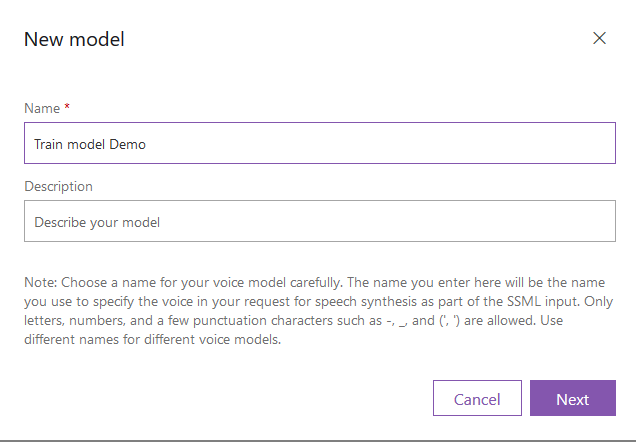
Give a name to your model and click Next.
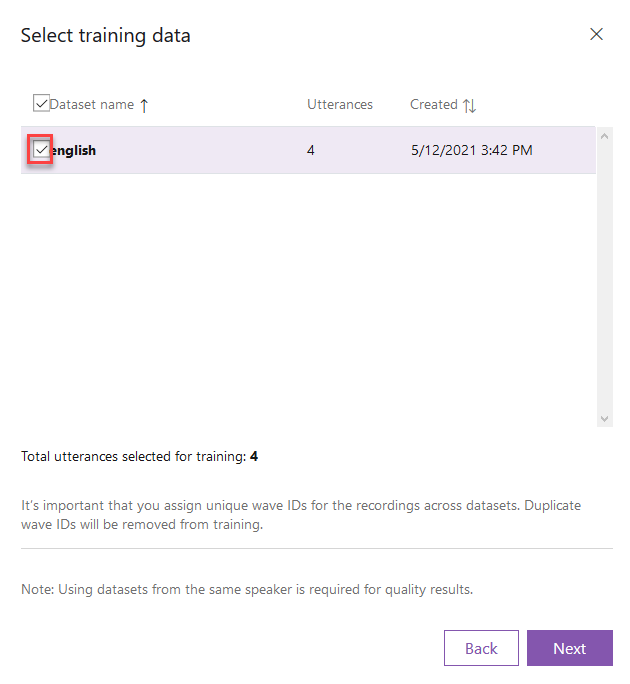
Select your dataset and click Next again.
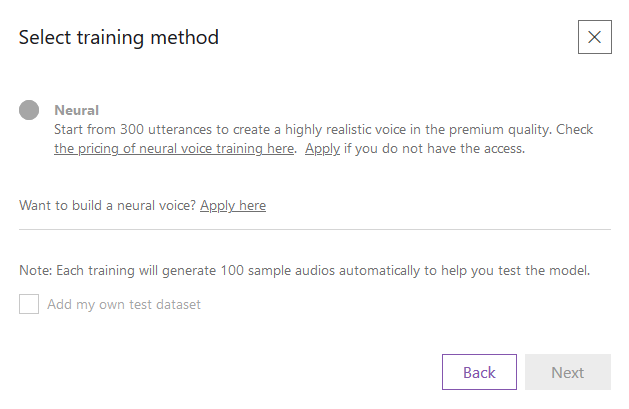
To start the training you will need at least 300 utterances in order to train the model. Once you have enough choose the Neural method and start training. You might also want to take a look at the pricing of neural voice training.
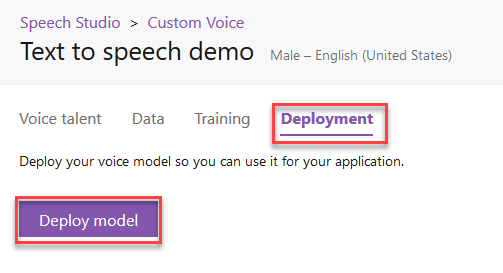
Once you have trained your model, you are now ready to publish it. Go to the Deployment tab and click Deploy model.
Once your model is deployed you will have an endpoint to your model to utilise for text to speech as a normal Speech resource. You can see how to import it tou your project using this post.